|
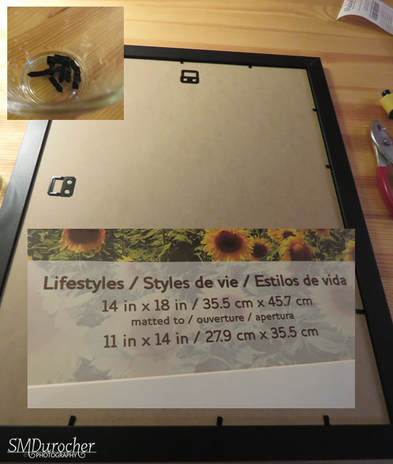
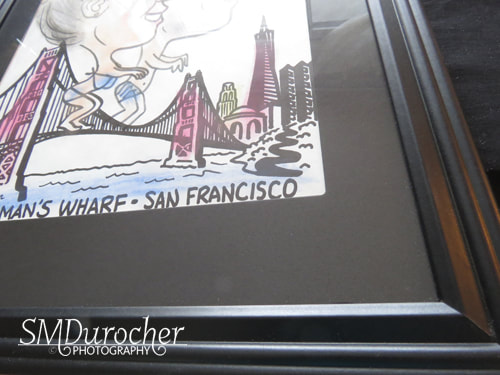
I was asked by a friend to frame a couple of pieces of art she has stored for quite a while. The one piece is a caricature which was done in San Francisco which came with a black mat. When I started researching frames I discovered the size 14x18 inches is a common American size but much less available in Canada. I was concerned I would not be able to find a frame. I had brainstormed some alternatives: cutting down the mat if needed, changing the mat, creating a custom mat for an 11x14 frame. I headed to Michaels in hopes of finding what I needed. I did find "one" frame in the right size among all the frames in the store. Fortunately, it was a wooden frame with a medium profile in black. Excellent.
The second piece was small but again not necessarily fitting in a standard frame. The art itself was 10 inches wide by 4.5 inches tall. The paper was 12 x 7 inches. I searched all the aisles looking for a frame that would work. I found this float frame which had the right proportions. It measured 6x12 inches and it was meant to hold 3 small photos and they would float between 2 pieces of glass. 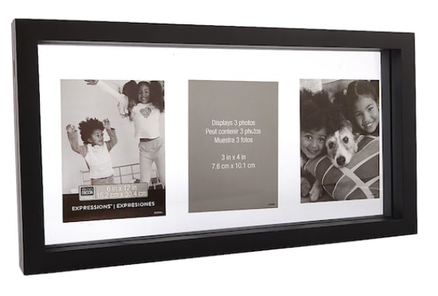
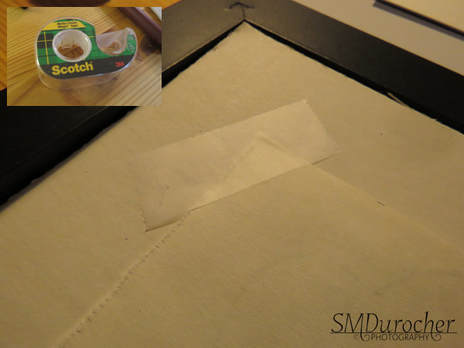
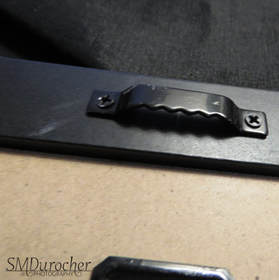
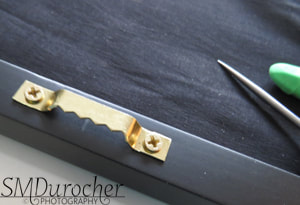 Because the art now covered the full opening of the frame I decided to give it a hanger so it could be hung as a regular frame. Again, I chose a gold sawtooth hanger with screws. I placed a pencil mark on the midway point on the width of the frame. I aligned the hanger on the mark, used the awl to make starter holes and inserted the screws into the frame with my smallest Phillips tip on my screwdriver. Perfect.  I am happy with the way these turned out. Getting ready to deliver them.
0 Comments
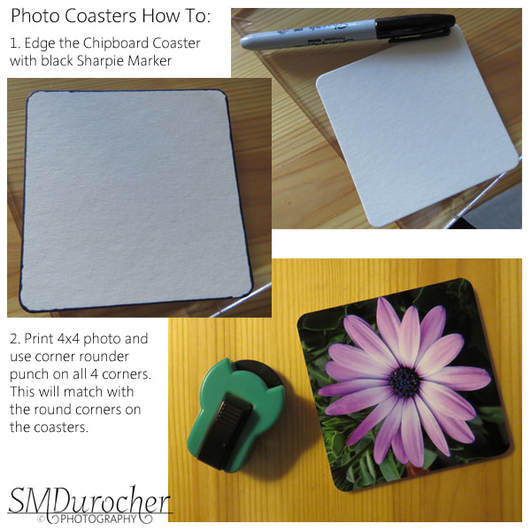
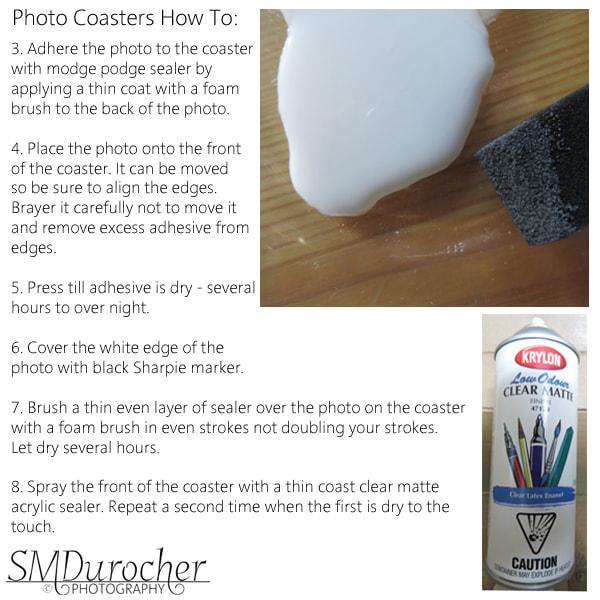
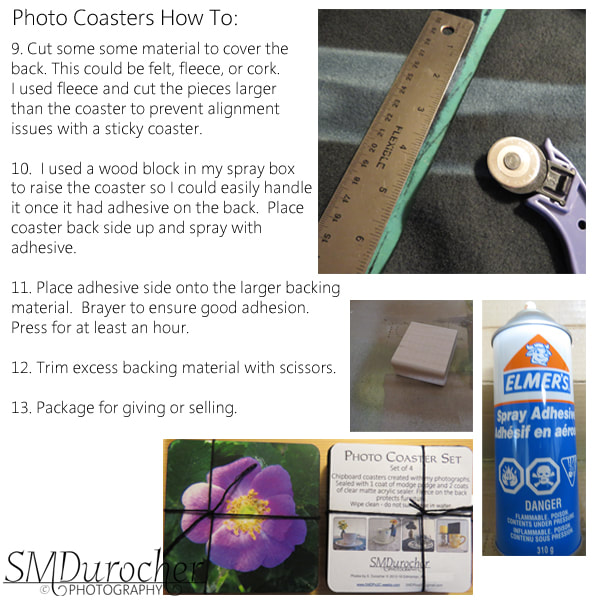
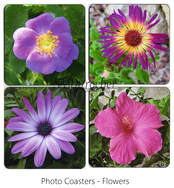
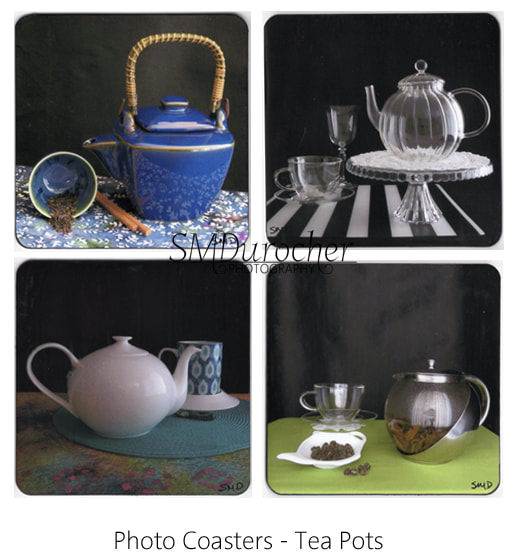
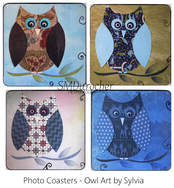
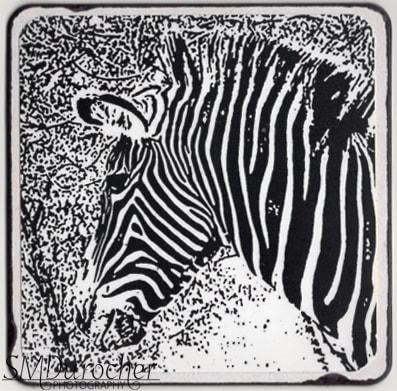
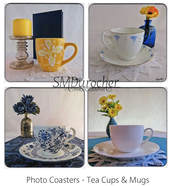
I decided to see if I could come up with another product made from my photos as photo cards and photo calendars have a limited market with all the digital options available. I came up with Photo Coasters. I had chipboard coasters left over from previous craft projects so I decided to try it. I have many photos I have used in my 4x6 photo calendars so there was much fodder in the square photo category.
I am really happy at how they turned out and I will be taking these to a Christmas Market at the gallery on Monday.
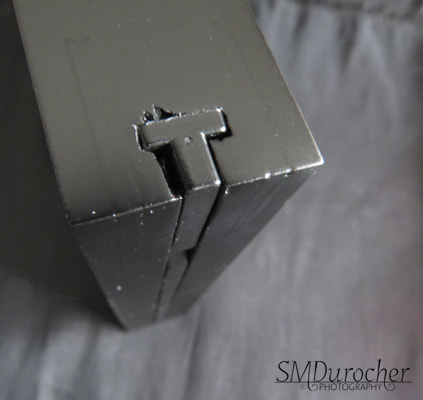
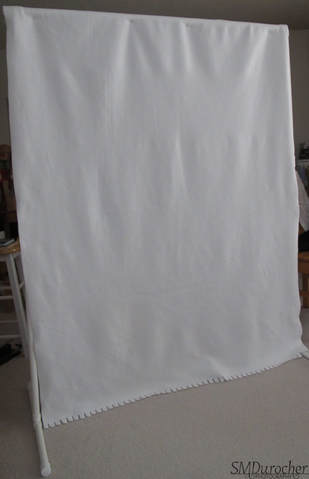
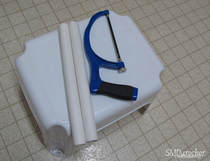
I needed a back drop stand in order to photo larger items. The professional ones are out of my budget at this time so I did a bit of research about DIY options. I settled on a PVC pipe option which will be easy to put together and store away in a small bag. I purchased 3/4" PVC pipe at a local home renovation store. The fittings are slip type with no threads and are also 3/4".
Cutting: I cut the 10 foot lengths into manageable pieces at the store to get them into the vehicle to bring home. Once home, I used my trusty hacksaw to make the additional cuts I needed. In the end I cut the top 3 foot pieces into one - 1 foot length and one 2 foot length because it was too tall for me to put my backdrop onto with my arms outstretched.
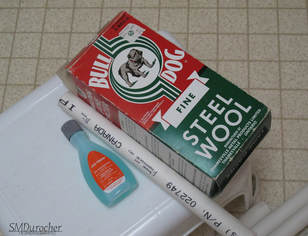
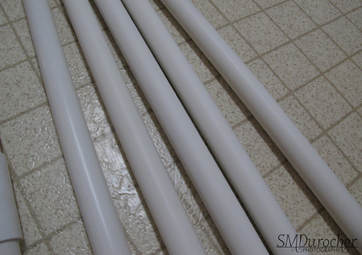
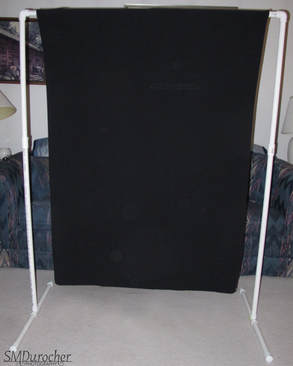
Cleaning: The PVC pipe has all kinds of black text on it to identify it. I did not want that in my final stand so I checked the web and found out that acetone and steel wool were the answer. I bought a small bottle of nail polish remover and I already had fine steel wool. It takes a lot of muscle power to get them off but with persistence it works really well. I then used an abrasive cleaner to remove any other dirt and grime off the pipe to make it a nice white color. I removed the labels from the fittings and used adhesive remover as needed. They look great. It took 2 hours to do the 10 feet and fittings. 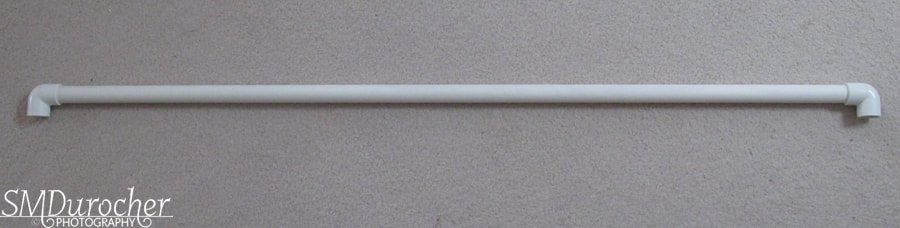   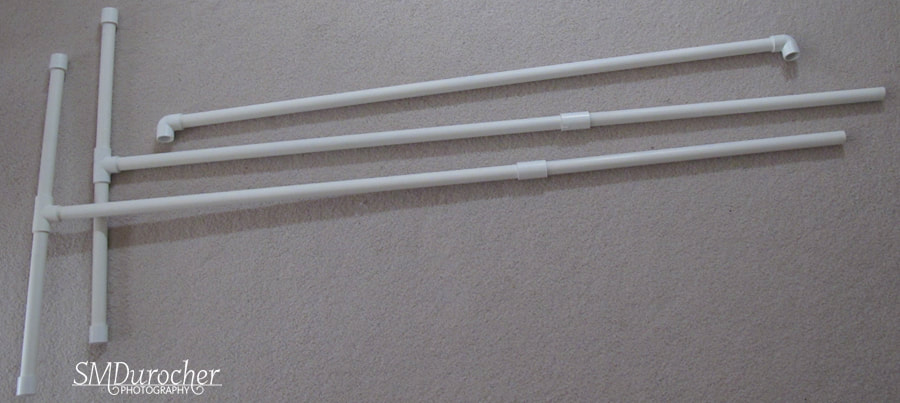 Assembly: Top Bar: Put the elbows at each end of the 4 foot top bar. Feet: Put two 1 foot lengths in each of the bottom holes of the tee fittings. Put end caps on the ends. Repeat for the other foot. Side Poles: Place a 3 foot length at the bottom, put a coupling on top end then place another length of pipe to make it taller. Repeat for the other side. Final: Place side poles in the top hole of the feet. Place feet of side poles at parallel to each other. Then place the ends of the top bar down onto the side poles one at a time.
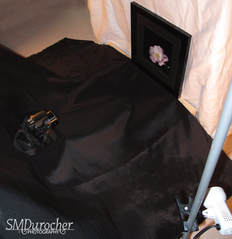
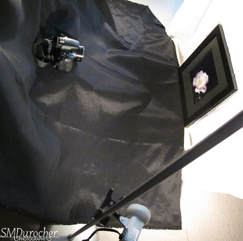
Store the backdrop: I needed a bag to hold all the pieces to ensure I did not lose them or break them. I made a bag from some second hand faded fabric which was not good for other projects. The piece I had was narrow and very long. I placed the fold at the bottom where most of the stress will be. I sewed the 2 side seams and turned it good side out. I created a casing at the top by folding down the edge and sewing. I ran 2 lengths of cotton twill ribbon one from each slit in the side seam. It closes easily but pulling on each ribbon. It was ready for my photography trip to Drumheller. 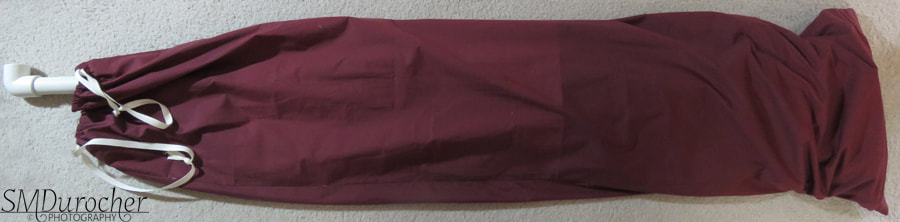 I was taking photos of my Photo Competition entries for this website last night. I had researched how to do this well on the web earlier this week. I am happy with my results considering it was late and I should have been sleeping. This link was helpful. The explanation of angles was very good in this page. This video was worth a look. Building a black scrim for the camera. I got the image below from here. This was very helpful in placing the lights. 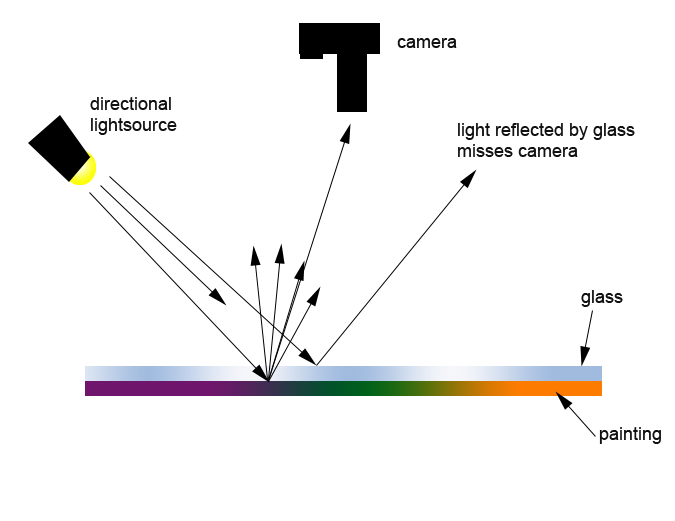 It is very important that the art work is as perpendicular to the camera as possible. Having to move the camera to review the images meant that sometimes it was not returned to the sweet spot. Having it on a tripod would help a lot. I will be looking for a large piece of black fabric that I am willing to make a hole into as well as a drop cloth stand to hang it taller that this set up.
|
Archives
October 2021
Categories
All
|
|||||||||||||||||||||||||||||||

 RSS Feed
